| Image Bleed | |
|---|---|
|
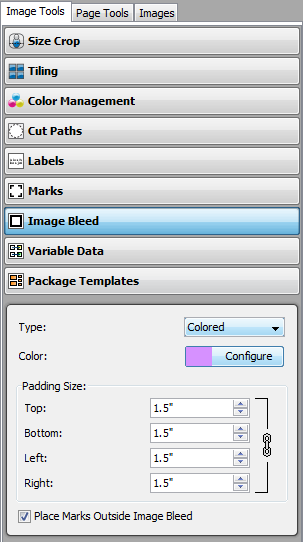
The Image Bleed option in the Image Tools allows you to create a border around your image. This border can be made of parts of the image itself or a color. Bleeds allow you to expand an image, create unusual effects, improve cutting, and create borders. To use [Image Bleeds], click [Image Bleed] from the [Image Tools] button, and select your Bleed Type. You can set the following options:
[Type] lets you select which type of Image Bleed you want to use. You can select [None], [Colored], [Duplicate], or [Mirrored]. [Colored] places a Bleed of a color of your choosing around your image; [Duplicate] copies the outermost pixels indefinitely, and [Mirrored] creates a mirror image of the original.
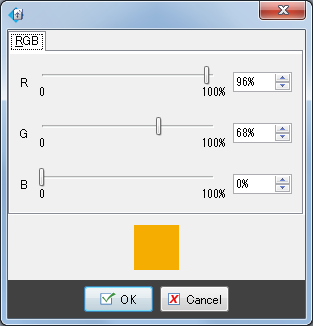
[Color] allows you to select the color of your Bleed. Click [Configure] button and create your own color using each color slider bar (Figure 2). This option is only available if you are using a"Colored Bleed".
[Padding Size] determines how far your Bleed extends from the original image. You can set all padding size values the same when clicking the up-down arrows or type the value simultaneously. If you want to set a different padding size for each side of your image, unlock the link and type or clicking up-down arrows to set each value.
[Place Marks Outside Image Bleed] moves all Cut, Crop, Registration, and other Marks outside of the Image Bleed. Use this option if you want to preserve the Bleed in your final output. If you do not want to preserve the Bleed, your Marks should be placed inside the Image Bleed.
|
Figure 1
Figure 2 |